


What Is a Snap Ring and Why Proper Installation Matters
A snap ring—also called a retaining ring or circlip—is a precision-engineered fastener that seats into a machined groove on a shaft or inside a bore, creating a mechanical shoulder that prevents axial movement of adjacent components. Small as they are, these rings hold bearings, gears, and pistons in position across automotive transmissions, hydraulic cylinders, electric motors, and aerospace assemblies.
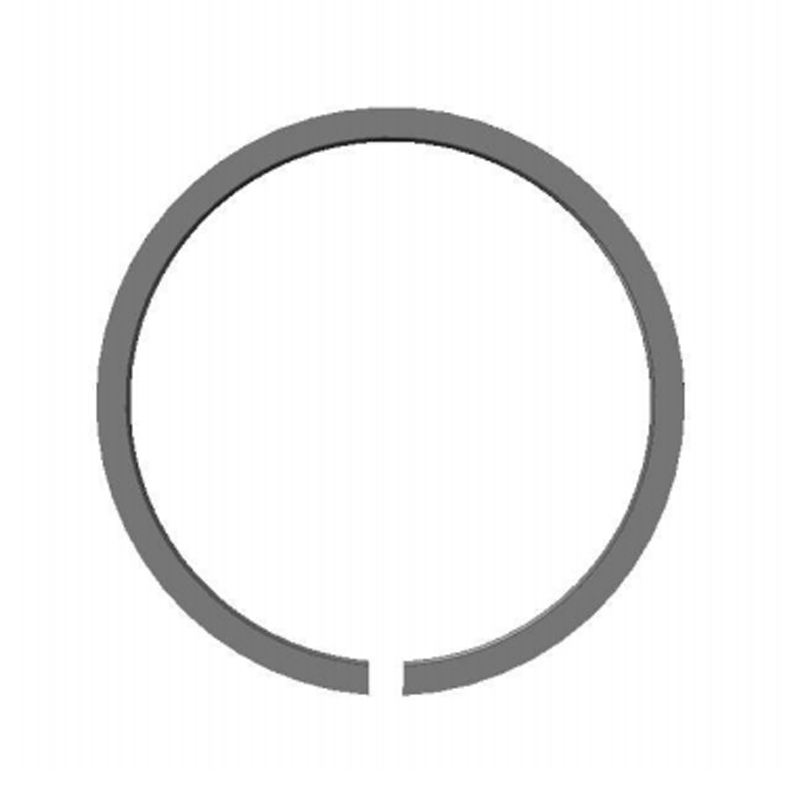
There are two fundamental types. External snap rings wrap around the outside of a shaft and compress into an external groove; they resist outward axial forces pushing components off the end of the shaft. Internal snap rings expand to fit inside a bore or housing, retaining parts within a cylindrical cavity. Understanding internal and external circlip types and their differences is the essential first decision before any installation begins.
Both types are typically manufactured from high-carbon spring steel (such as C67S) or stainless steel, then heat-treated to achieve the spring tension needed to stay seated under load. A correctly installed snap ring requires no adhesive, no threading, and no additional hardware—but it does require the right tools, the right size, and careful technique. Get any of those wrong and the ring either fails to seat properly or deforms permanently, which can lead to component dislodgement and costly machine downtime.
Tools You Need Before You Start
The single most common installation error is reaching for a generic pair of needle-nose pliers. Snap rings are tempered to a specific spring rate, and standard pliers apply uneven, uncontrolled force that can nick the ring, mis-seat it, or send it flying across the workshop. Dedicate a few minutes to gathering the correct equipment before touching the ring.
Snap ring pliers are the core tool, and they come in two mechanically opposite configurations. For external rings, you need compressing pliers—squeezing the handles brings the tips together, contracting the ring so it can clear the shaft diameter and drop into the groove. For internal rings, you need expanding pliers—squeezing the handles spreads the tips apart, enlarging the ring to clear the bore diameter before it contracts into the internal groove. Many sets include convertible tips and can switch between both modes; confirm which mode is active before proceeding.
Beyond the pliers, you will need:
- Safety goggles — a snap ring under tension can release suddenly and travel at speed. Eye protection is non-negotiable.
- Calipers or a micrometer — to verify shaft or bore diameter and confirm you have the correctly sized ring before installation.
- Clean rags or solvent — to remove dirt, metal chips, or old lubricant from the groove. Debris in the groove prevents the ring from seating fully.
- Light machine oil or assembly lubricant — a thin film on the ring eases installation and protects against early corrosion, particularly in environments with moisture or chemical exposure.
Work in a well-lit area with enough clearance to maneuver the pliers without awkward angles. Awkward angles lead to slipped pliers, which leads to deformed rings—or injuries.
How to Install an External Snap Ring (Step-by-Step)
External snap rings seat into grooves machined around the outside diameter of a shaft. Installation requires compressing the ring below its free diameter until it clears the shaft, then guiding it into the groove and releasing. Here is the full sequence:
- Verify the ring size. Measure the shaft diameter at the groove location with calipers. Cross-reference against the ring's nominal designation (for example, DIN 471 – 20 mm). A ring that is even slightly oversized will not seat; one that is undersized will not retain.
- Clean the shaft and groove. Wipe away any oil, chips, or oxidation from the groove channel. The groove walls need to make full contact with the ring's inner edge.
- Inspect the ring. Discard any ring that shows nicks, cracks, bends, or flat spots from previous use. A deformed ring cannot generate the uniform radial force needed to stay seated.
- Apply a light lubricant. Lightly coat the ring with machine oil. This reduces friction during compression and protects the metal surface.
- Load the ring onto compressing pliers. Insert the plier tips into the lug holes at the ends of the ring. Squeeze the handles gently to compress the ring until its outer diameter is slightly smaller than the shaft diameter—just enough to slide over the shaft. Do not compress further than necessary; over-compression beyond the material's elastic limit causes permanent deformation.
- Position the compressed ring over the shaft. Slide it along the shaft until the ring is directly aligned above the groove.
- Release the pliers slowly. Allow the ring to expand into the groove in a controlled motion. You should hear or feel a distinct snap as the ring seats.
- Verify seating. Attempt to rotate the ring in the groove with a fingernail or blunt probe. It should move slightly within the groove (that is normal) but must not tilt, lift, or rock. Apply light axial force to the retained component to confirm the ring holds position.
Browse precision-stamped snap rings for industrial use to find the correct specification for your shaft application, including standard DIN 471 and custom non-standard profiles.
How to Install an Internal Snap Ring (Step-by-Step)
Internal snap rings work on the inverse principle: the ring must be expanded beyond its free diameter to clear the bore, then released to contract into the internal groove. The procedural logic mirrors external installation, but every direction reverses—and the pliers must be the expanding type.
- Measure the bore diameter. Use an internal caliper or bore gauge. The ring's nominal size must match the bore, not the shaft. A DIN 472 ring, for example, is designated by the bore diameter it is intended to fit.
- Clean the bore and groove. Flush or wipe the internal groove thoroughly. Even a small burr or chip can prevent the ring from seating flat, creating a gap through which axial load can displace the retained component.
- Inspect and lubricate the ring. Same rules as external: reject any damaged ring, and apply a light coat of oil.
- Load the ring onto expanding pliers. Insert the tips into the lug holes. Squeeze the handles so the tips spread outward, expanding the ring beyond the bore diameter—again, only as much as needed to clear the bore wall.
- Insert the expanded ring into the bore. Guide it to the groove depth while keeping the pliers steady. Keep the ring perpendicular to the bore axis; an angled entry causes the ring to catch on one side before the other, making full seating difficult.
- Release the pliers slowly. The ring contracts into the groove. You should feel it drop into place.
- Confirm full seating. Look or probe around the full circumference of the groove. No portion of the ring should protrude above the groove plane. A partially seated ring looks correct visually but will fail under load.
For external circlips for shaft applications or DIN 472 internal circlips, ensure the groove dimensions—width, depth, and corner radius—match the ring specification precisely. The ring and groove are a matched system, not interchangeable parts.
Common Installation Mistakes and How to Avoid Them
Most snap ring failures trace back to one of five recurring errors. Recognizing them before installation saves both time and components.
Wrong ring size. A ring that is one size too large will not generate enough radial force to stay in the groove under load; one size too small cannot be installed without over-stressing the material. Always verify with calipers—never estimate by eye.
Over-deflection during installation. Every snap ring has an elastic range. Compress or expand it beyond that range and the spring steel takes a permanent set, meaning it can no longer generate the radial clamping force the groove relies on. The ring may appear seated, but it will loosen under vibration or axial thrust. Only open or close the ring enough to clear the mating diameter—no further.
Debris in the groove. A single metal chip wedged under the ring lifts it out of plane. Under axial load, this creates a stress concentration that can fracture the ring or allow the retained component to walk out. Clean grooves before every installation.
Reusing removed rings. Once a snap ring has been expanded or compressed for removal, its geometry has changed. Reusing it is a false economy—the ring's retention force is compromised, and failure in service is a real risk. Always install a new ring after disassembly.
Incorrect plier type. Using compressing pliers on an internal ring—or expanding pliers on an external ring—applies force in the wrong direction, making proper seating impossible and potentially damaging the ring's lug holes. Confirm plier mode before loading the ring. For a deeper understanding of how these rings function within larger assemblies, refer to the importance of retaining rings in mechanical assemblies.
How to Choose the Right Snap Ring for Your Application
Installation technique is only half the equation. A correctly installed but wrong-specification ring will still fail. Here is how to make the right selection before picking up the pliers.
Internal vs. external. This is determined entirely by where the groove is: inside a bore (internal ring) or on the outside of a shaft (external ring). There is no overlap—the two are not interchangeable.
Standard and size. Most global applications follow DIN 471 (external, shaft) or DIN 472 (internal, bore). North American designs may reference ANSI B27.7. The nominal size equals the shaft or bore diameter where the groove is machined. Always cross-reference the ring dimensions—free diameter, thickness, and groove engagement depth—against the standard's tolerance tables rather than nominal size alone. See DIN 471 and DIN 472 circlip specifications for a full range of standardized options.
Material. Carbon spring steel (65Mn, C67S) handles the majority of industrial applications—strong, affordable, and widely available. For corrosive environments (chemical processing, marine, food equipment), specify stainless steel (304 or 316 grade). High-temperature applications may require alloy steel with appropriate heat treatment. Non-sparking environments call for beryllium copper.
Surface treatment. Bare spring steel will corrode in humid conditions. Phosphating with oil is standard for general storage and assembly. For outdoor or high-humidity exposure, zinc plating, zinc-nickel plating, or Dacromet coatings provide substantially better corrosion resistance. Geomet and electrophoretic coatings are available for the most demanding chemical environments.
Load requirements. Standard-section rings handle moderate axial thrust. For high-load applications, heavy-duty or beveled retaining ring variants distribute force more evenly across the groove wall, reducing peak contact stress and extending fatigue life. If standard profiles do not meet your application's geometry or load requirements, custom non-standard snap rings can be manufactured to exact drawings—an option worth considering before redesigning the groove or housing around an off-the-shelf ring that almost fits.


